How To Remove Broken Keys - Advice From A Professional Locksmith
Having a key break off in one of your locks can be a real pain in the neck. But with the proper information you can better understand the problem and take steps to solve it. Other web sites offer advice on broken key removal but most don't go far enough.
My goal is to provide you with the most complete broken key removal information on the Internet. With this information, you stand a good chance of removing the key yourself and preventing it from happening again. If, after reading this information, you still can't remove the broken key piece, go to the Associated Locksmiths of America site (ALOA) to find a professional locksmith near you.
What Causes Keys To Break
Most keys, even brass and nickle-plated keys, will eventually
wear out and break along any of a key's cuts. But some conditions
will speed up the process such as:
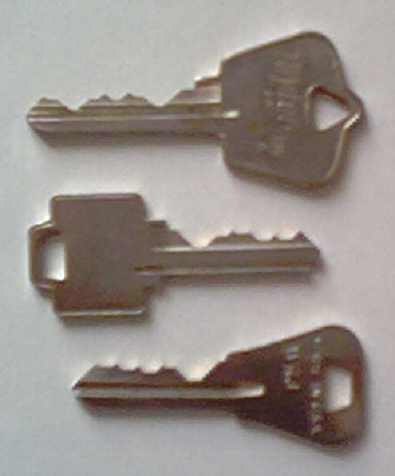
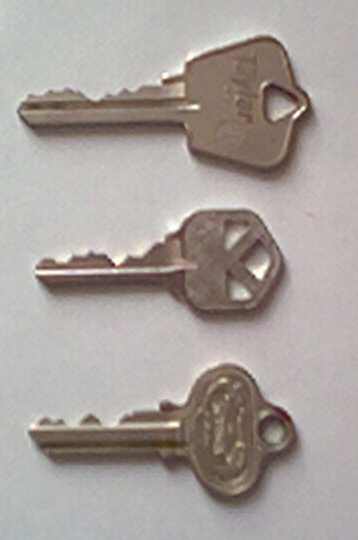
1. The key has one or more deep cuts which become the "weak point" of the key. After so much use (and a little abuse) the key will break at these points. Figure A shows keys where the first cut (next to the head of the key) is a deep cut and Figure B shows deep cut(s) in the middle of the key.

 Figure B
 2. The key is made of a light-weight material not suitable for long-term, everyday use. Keys cut on aluminum blanks are a prime example. They also tend to break at a deep-cut "weak point" only sooner. Identified by their light weight and (usually) bright colors such as red or green.
Usually before a key breaks, one or more tiny cracks will appear by the cut about to give way. You may want to check your keys right now - at least the ones that you use and depend on every day. If you see a tiny crack being formed by one of the cuts or if the key is bent or misshapen in any way, go to your nearest locksmith or key shop and get another one made.
To be safe, don't treat the
broken pieces as trash and carelessly toss them away. A new
key could be made from the pieces and used to gain access your
home or property.
Broken Key Removal Tools
We locksmiths have a variety of tools for removing broken keys from locks. Two of the more effective tools I use are shown in Figure C.

These particular key removal tools are made of spring steel and are approximately 5" long, 5/16" wide at the handle and .022" thick. Notice the barbs at the end of each tool. The purpose of this sharp little barb is to dig or "bite" into the broken key piece so the piece can be removed. As long as the tool you use is made of sturdy metal, is narrow enough to enter the keyway, and has a barb to grab on to the broken key it should do the job. A scroll saw or jig saw blade should do the trick.
Broken Key Removal Procedure
The steps in this procedure should be all that are needed to
remove a key piece that has broken somewhere in the middle of
a key (the most common situation). In other words, the front
part (or so) of the key is in the lock and the remainder in your
hand.
FIRST - unless the lock has been in good working order
(with the key going in and out smoothly) prior to the key breaking
off, spray a lubricant such as WD-40 or Tri-Flow in the lock's
keyway first. You want the broken key piece to slip out easily and
a dry or gummy lock will make the job harder.
SECOND - insert the removal tool (or your saw blade) into
the lock's keyway so that the barb (or teeth) can contact the cuts
of the key piece to be removed. You should be able to tell how far
to insert the tool based on how much of the key you still have in
your hand.
THIRD - let the barb "bite" into one of the cuts of the
broken key piece and give the tool a sharp tug towards you. The
key piece should coming flying out.
FOURTH - take the two pieces of the key to your local
locksmith or key center and get another one or two made.
When Most Of The Broken Key Stays In The Lock
When the first cut in the key gets too weak (keys such as those
shown in Figure A), you can end up with just the head of the key
in your hand. The
danger in this is that all the cuts necessary to operate
the lock may still be stuck in the lock. In other words, you or anyone else can
operate the lock with just a small knife blade or screwdriver!!!
Test if the lock will operate by inserting a small screwdriver in
the keyway (next to the broken key piece) and trying to turn the
lock cylinder. If the cylinder does not turn, follow the procedure
above to remove the key piece. If you can turn the cylinder to the
right or left you must make sure the lock cylinder is
positioned so the key can be removed.
Let me explain...

Figure D shows the most common position for a lock cylinder to be
in for key removal. If you were to insert a key in most any pin
tumbler lock and turn it, the key could not be removed until the
lock cylinder is back in the position shown in Figure D.
The same is true when removing a broken key piece that still
works the lock. The key
cylinder must be in its normal key removal position or
you will be wasting your time trying to remove the key piece.
Once you have turned the cylinder to its proper key removal
position, you are ready to follow the Broken Key Removal Procedure
or, if enough of the key is sticking out, use a small pliers or
tweezers to remove the broken key piece.
Now that you have read this information, you should be ready to attempt removing a broken key on your own and avoid this problem in the future.
Disclaimer: I have made every reasonable effort to produce an informative and helpful article on Broken Key Removal based on my research and experiences. However, I make no representation or warranties of any kind with regard to its completeness, accuracy or suitability for any specific situation or purpose. See our Warranty Policy for more info.
Copyright © 2003-2024 - Broken Key Removal